Hello folks! We are back with another interesting Whiteboard Wednesday blog to sharpen your streaming skills. In today’s blog, you will be getting a closer look at the process of making your live and on-demand content more engaging by using Muvi Live App.
So, let’s get started…
What is Muvi Live App?
Muvi Live App is the world’s fastest deployable live streaming app for businesses allowing you to instantly start live streaming from your iOS and Android phone.
How to Get Muvi Live App?
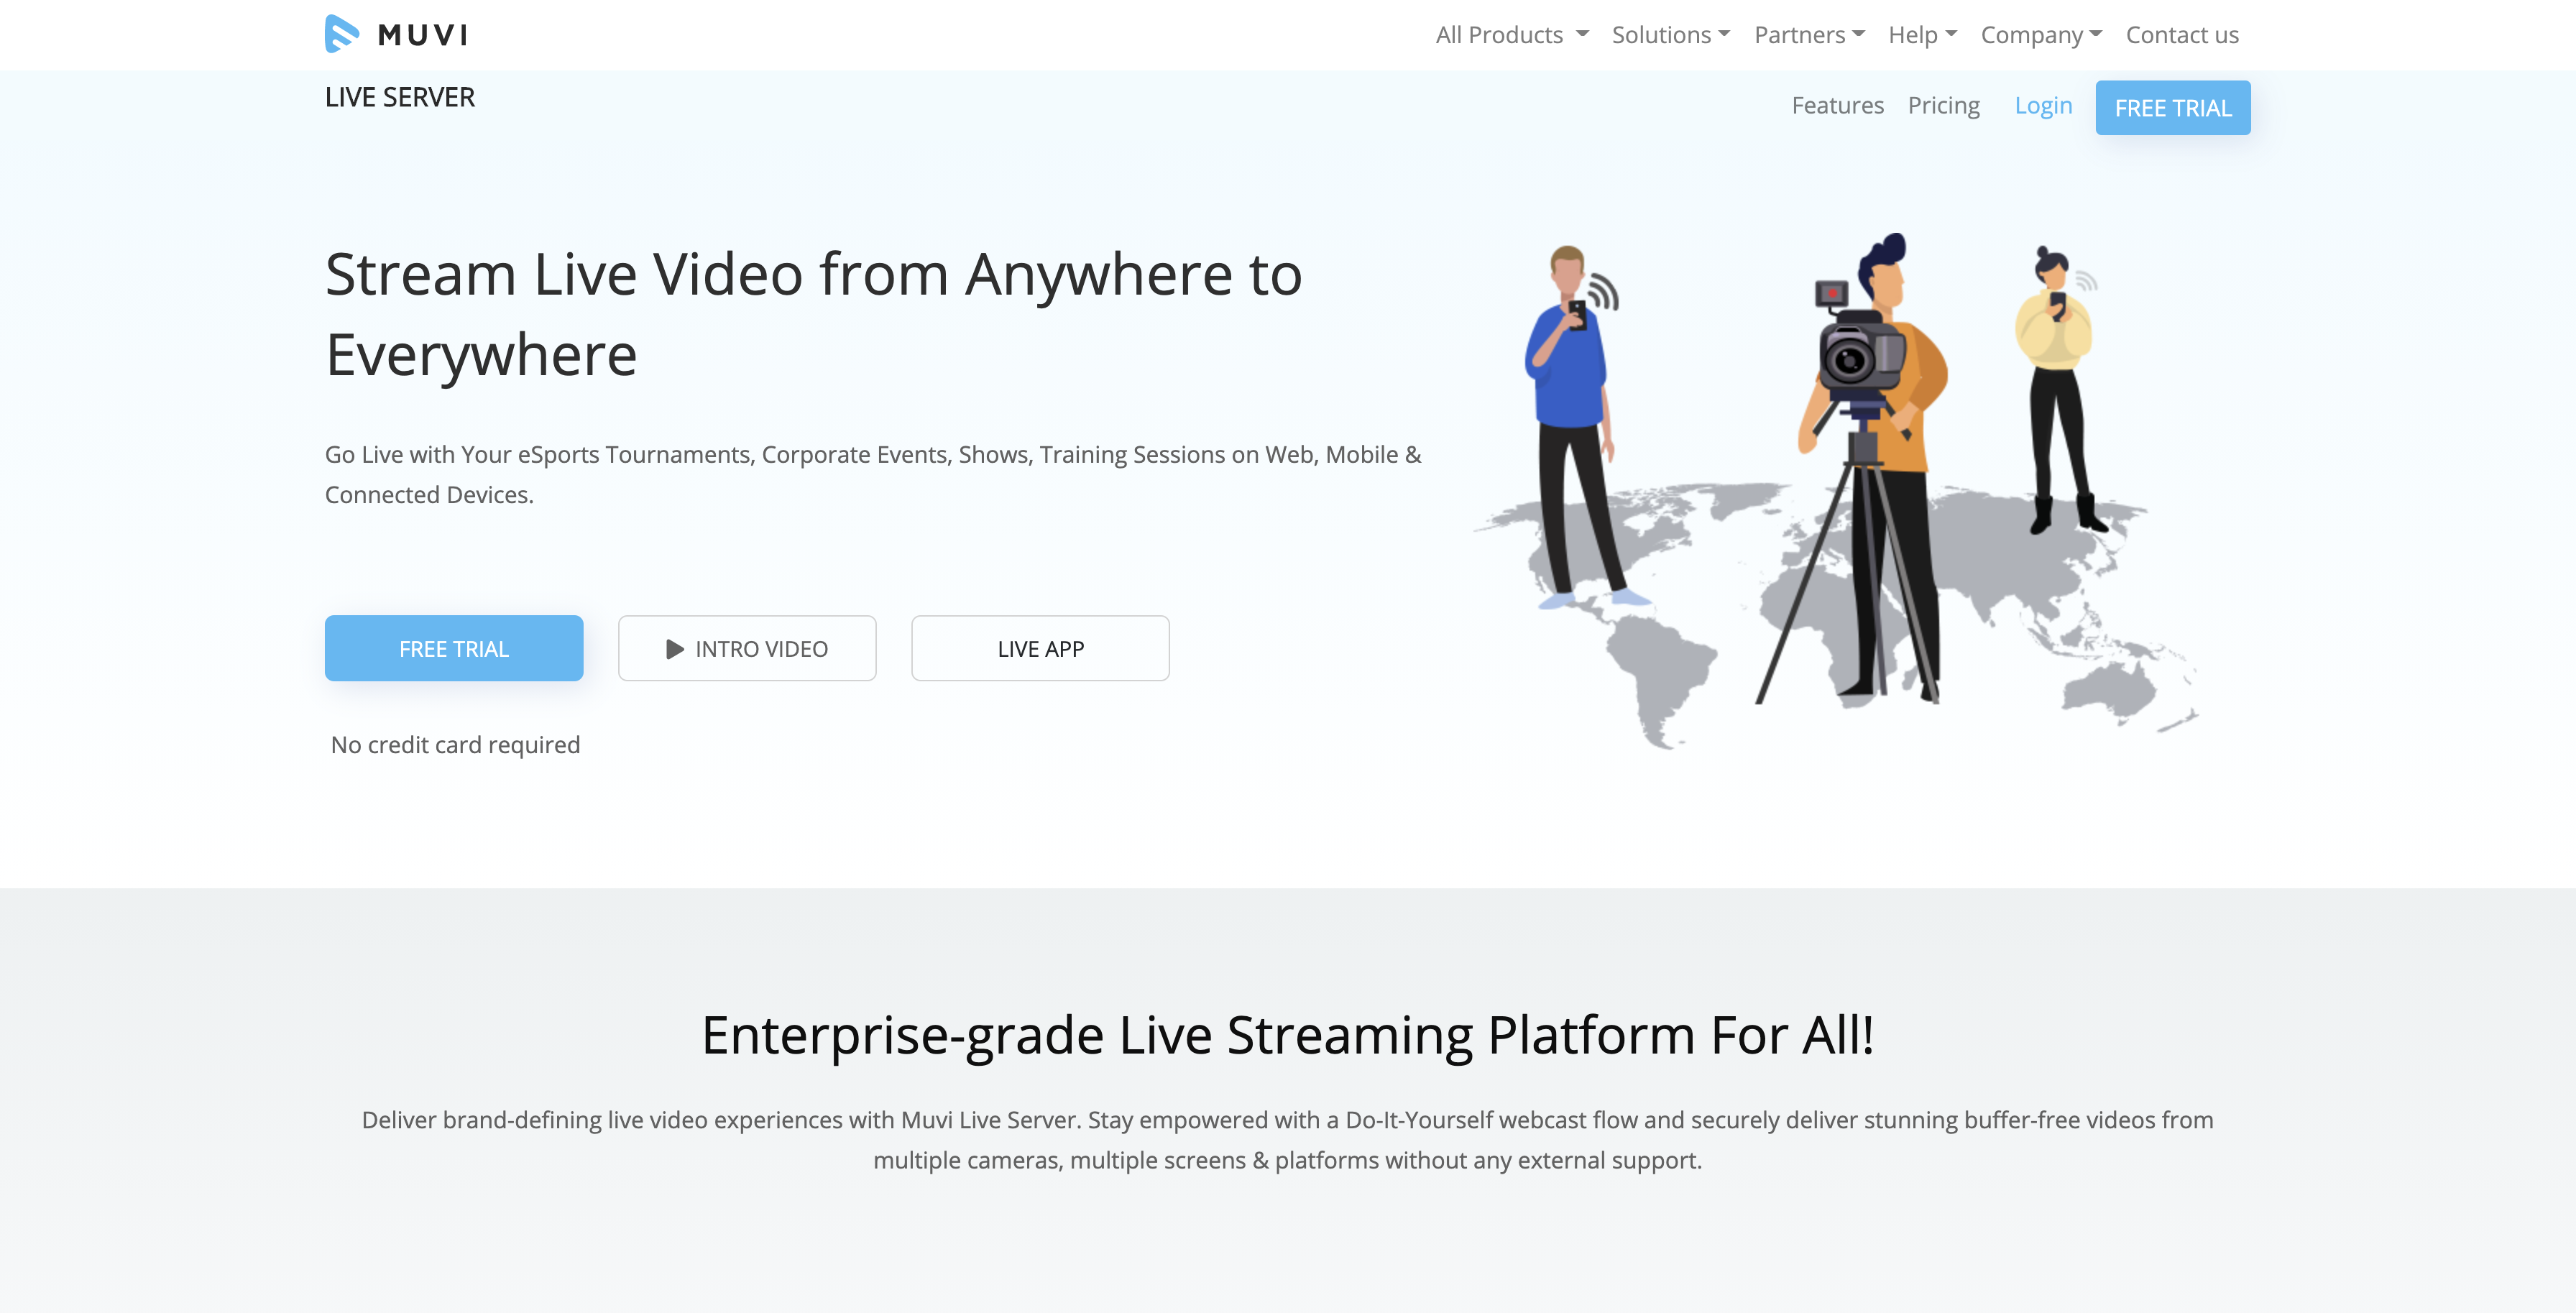
First, you need to sign up with Muvi Live Server.
- Click on “Free Trial” to take 14 days free trial.
- Provide the details like your “Name”, “Company Name”, “Phone Number”, “Email” and “Password”.
- Click on “I agree to Muvi’s Terms & Privacy Policy” and then click on “Next”.
Once your 14 days free trial is over, you will be prompted to purchase the subscription of Muvi Live Server. You can also purchase the subscription before your live stream free trial ends.
- Click on “Purchase Subscription” on the top right corner of your page.
- Click on “Checkout”
- Provide the details of your Credit Card details and Billing Address.
- Click on “Continue to Pay”.
- Click on “Billing” to view the “Subscription Details” and “Payment History”.
Installing Muvi Live App
For installing the Muvi Live App, just visit the Google Play Store and search for Muvi Live App and download it.
Adding Live Stream in Muvi Live App
To add the live stream to Muvi Live App, first, you need to login to the app by using your Muvi Live Server account. After that you have to:
- Tap on “Add Stream”
- Type the “Stream Title”
- Tap on “Save Title” to save the live stream. Repeat the process to add multiple live streams.
How to Start & Stop Live Streaming in the Live App
- To start the live stream in Muvi Live App, tap on “Start Stream”.
- Tap on “Go Live” on the bottom of the app.
- Once the app is connected, you can either live stream using your main camera of your mobile device or using the front camera. Also, you can switch between the cameras during the live streaming.
- You can share the live stream feed using the HLS URL, which is automatically generated once you start the live stream. Copy the HLS URL and share it on your website/app.
- To stop the live stream, tap on “Stop” on the bottom of the app. When asked for the confirmation, tap on “End Live Video”. The live streaming will be stopped.
Wrapping up,
There you go! Your users can now securely live stream through Muvi Live App.
Don’t forget to share your thoughts in the comment section below. You can also tag @Muvi with #WhiteboardWednesday on Twitter and share your thoughts.
See you in our next Whiteboard Wednesday segment. Till then Happy Streaming with Muvi!
Sign Up for our 14-day Free Trial, now!


Add your comment