Written by: Aditya Nayak
The path to the perfect digital photo or video can sometimes be quite bumpy if you lack the basics for the important setting options such as ISO sensitivity, shutter speed and camera aperture. These three factors are also called “The Exposure Triangle”.
Most DSLR cameras or mirrorless system cameras (which have recently become increasingly popular) have an “auto mode” that makes your life easier at first, but of course, also limits your results.
When you use Auto mode, it means that your camera is trying to set the optimal settings for the photo you want to take on its own. Your camera primarily takes your surroundings into account. In the open air, it registers e.B. more/a lot of light, whereas inside it usually processes rather weak light. The settings of your camera, therefore, vary largely automatically.
What does ISO on a camera stand for?
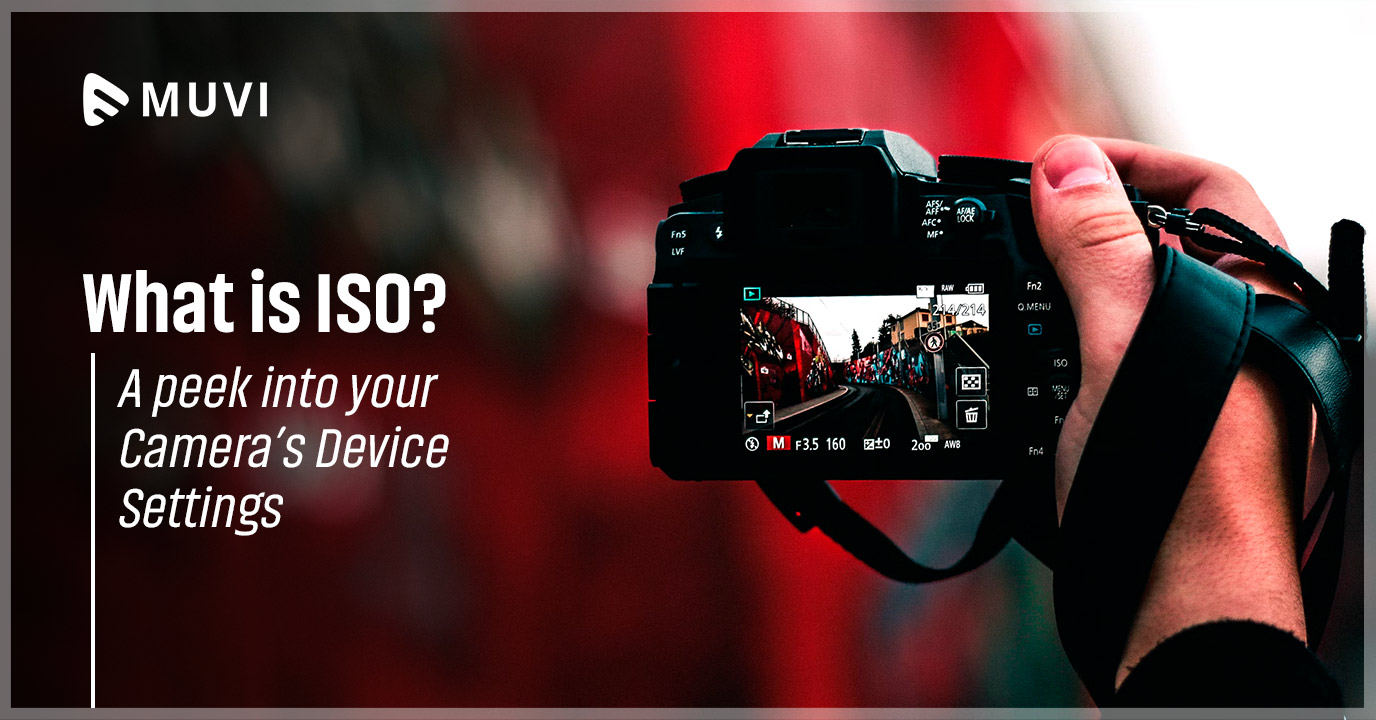
The ISO number represents the light sensitivity of your camera setting. Usually, ISO is given in numbers – a smaller number means lower light sensitivity, and a higher number means higher light sensitivity. Higher light sensitivity also means higher “graininess” in the photo. ISO numbers can be e.B: 100, 200, 400, 800, 1600.
What does Shutter Speed do?
This is the time your camera lens stays open and lets the light in. Typically, shutter speed is measured in units < 1 second. A higher and slower exposure time means more light on the camera sensor – useful in low-light environments and at night.
Smaller and faster shutter speeds mean less light in the camera sensor and are necessary for moving subjects so that the photo is not completely blurred. Examples of exposure times are 1/15 (=1/15 of a second!) 1 /30, 1/60, and 1/125.
How does Aperture affect photos?
Aperture controls the depth of field. This is the part of your photo that is sharp. If the aperture is very small, the depth of field is large, while the depth of field is small if the aperture is large.
Aperture values are typically expressed in “f” numbers (also known as the “focal point ratio” because the f-number is the ratio of the diameter of the lens aperture to the length of the lens). Examples of aperture values are f /1.4, f/2.0, f/2.8, f/4.0, f/5.6, and f /8.0.
What ISO number should you set?
There’s nothing wrong with your camera’s auto ISO mode, it’s the only auto setting I use on my camera.
Nevertheless, you should set a maximum ISO limit if possible. This depends a lot on your camera: For a low-budget camera (under 700, – €) I would choose a maximum ISO setting of 3500, for a high-end camera quite ISO-8000. This will not make your photos “grainy.”
Which exposure/shutter speed should you choose?
That depends very much on the shot you’re taking. If you take a photo of someone moving fast, you should choose a short exposure time (I recommend: 1/300) to “freeze” that moment.
But don’t choose the value too high either, otherwise, the photo may look static and lifeless. For example, if you want to take a photo of a moving car and consciously keep the motion blur of the wheels, do not choose too high an exposure time.
What should you consider with the camera aperture?
If you want to achieve a very shallow depth of field (= the extent of the sharp area in the photo), use the lowest aperture value offered by your lens (e.B. f/1.4). Do you want to focus on a larger part of the photo? Choose a higher f-number like f/8 or even higher!
(TIP: You may also find yourself in a situation where you have no choice but to keep the aperture to a minimum! Let’s say you’re in an interior with really low light. So you don’t have to increase the ISO number.)
Is higher or lower ISO better?
A low ISO is technically going to give you the best image quality possible. If you use an ISO of 100, and your image is properly exposed, this is the best scenario to be in. This means you’ll be getting pretty much the best quality out of your camera. Now, when it comes to higher ISOs, of even 3200 or higher on some cameras, you’ll start to experience noise and grain. The higher the ISO, the more grain and noise you introduce to your image. With that in mind, try to keep your ISO low if possible, and only raise it when you need to! One thing to note when it comes to ISO is that all of this is also relative to your camera. Some cameras are great in high ISOs while others have very noticeable grain. It’s best to test with your camera to see its capabilities.
What is the best ISO setting for video?
Typically the best ISO setting for video is a low ISO. An ISO between 100–200 is going to give you the best result. You’ll also want to consider your camera’s native ISOs. What are native ISOs? Well, they’re the ISOs your camera performs best at. For example, when it comes to Canon cameras, the native ISOs are 160, 320, 640, 1250, 3200, etc. It’s usually structured the same way for other cameras, too. You’ll often see that native ISOs are doubled as they increase. If you stick to native ISOs while brightening or darkening your image, you’ll notice less grain, and get — overall — a better quality image.
So, if you’re opening up your camera to shoot a video, choose a low ISO like 160 if you’re on a Canon. And then brighten up your image if you need to with shutter speed and aperture. For setting exposure, you should follow this order: ISO, then aperture, and finally shutter speed to get the best results.
What is the best ISO setting for low light?
If you’re shooting in low light, a high ISO is best (e.g., 3200, 6400, or anything higher). A higher setting will help you achieve a well-balanced shot in low light. If you can, you should still try and stick to native ISOs. And even if you get a little bit of noise and grain, you can still push your camera if you need; it’s all about getting the shot. So, if that means you have to boost your ISO to get proper exposure, do it!
Why does higher ISO increase noise?
High ISOs typically have a lot of noise and grain associated with them because it makes the camera sensor absorb light faster. That means, the higher the ISO, the harder the image sensor is working to produce a good image, which sometimes produces more digital noise or grain.
What’s the difference between ISO and Shutter Speed?
ISO and shutter speed are both products of image exposure or brightness. I like to think of ISO as an exposure slider; its main purpose is to brighten or darken your image. Shutter speed is more related to motion blur in video and capturing fast-moving objects in photography.


Add your comment