If you are into the video streaming business or use videos for business purposes, you must know about Video Transcoding and its importance! Because transcoding is pivotal for any type of video streaming, from streaming platforms to simple business videos!
Basically, video transcoding is the process of converting a video file from one format to another. This might be done for multiple reasons. You can do transcoding to reduce the file size, change the video quality, or make it compatible with different devices or software.
For example, you might transcode a video from a high-definition format to a lower resolution to save space on your phone.
In video streaming, transcoding converts videos into different formats and qualities to match viewers’ devices and internet speeds. This is critical for ensuring adaptive streaming, smooth playback, and reducing buffering. It helps deliver the best possible video experience based on each viewer’s setup.
But what is transcoding? And, exactly which steps are involved in video transcoding? In this blog, we will walk you through all of that and more!
Looking for a secure video hosting platform with built-in encoding and translation capabilities? Try Muvi Flex! Click here to start your 14-day FREE trial. What Is Transcoding?
As we told you before, video transcoding is the process of converting a video file from one format or one video quality to another. It is easier to understand this way, but technically it involves a complex process.
Transcoding involves decoding the original video and then encoding it into a new format or video resolution. For example, you have uploaded a 4K video, but you want to distribute it to your viewers in multiple resolutions, ranging from 720p to 4K.
To do so, the transcoding software will first decode your original 4K video, and then re-encode it into 720p or any other video resolution. Similarly, you can change the format of your video too!
So basically you can say that transcoding helps in delivering multiple renditions of your original video file.
The end goal of transcoding is to make the video compatible with different devices or to optimize it for specific needs, such as reducing file size or improving playback performance.
But one particularly important function of transcoding is to enable adaptive bitrate streaming. Let’s explore it in more detail.
Transcoding for Adaptive Bitrate Streaming
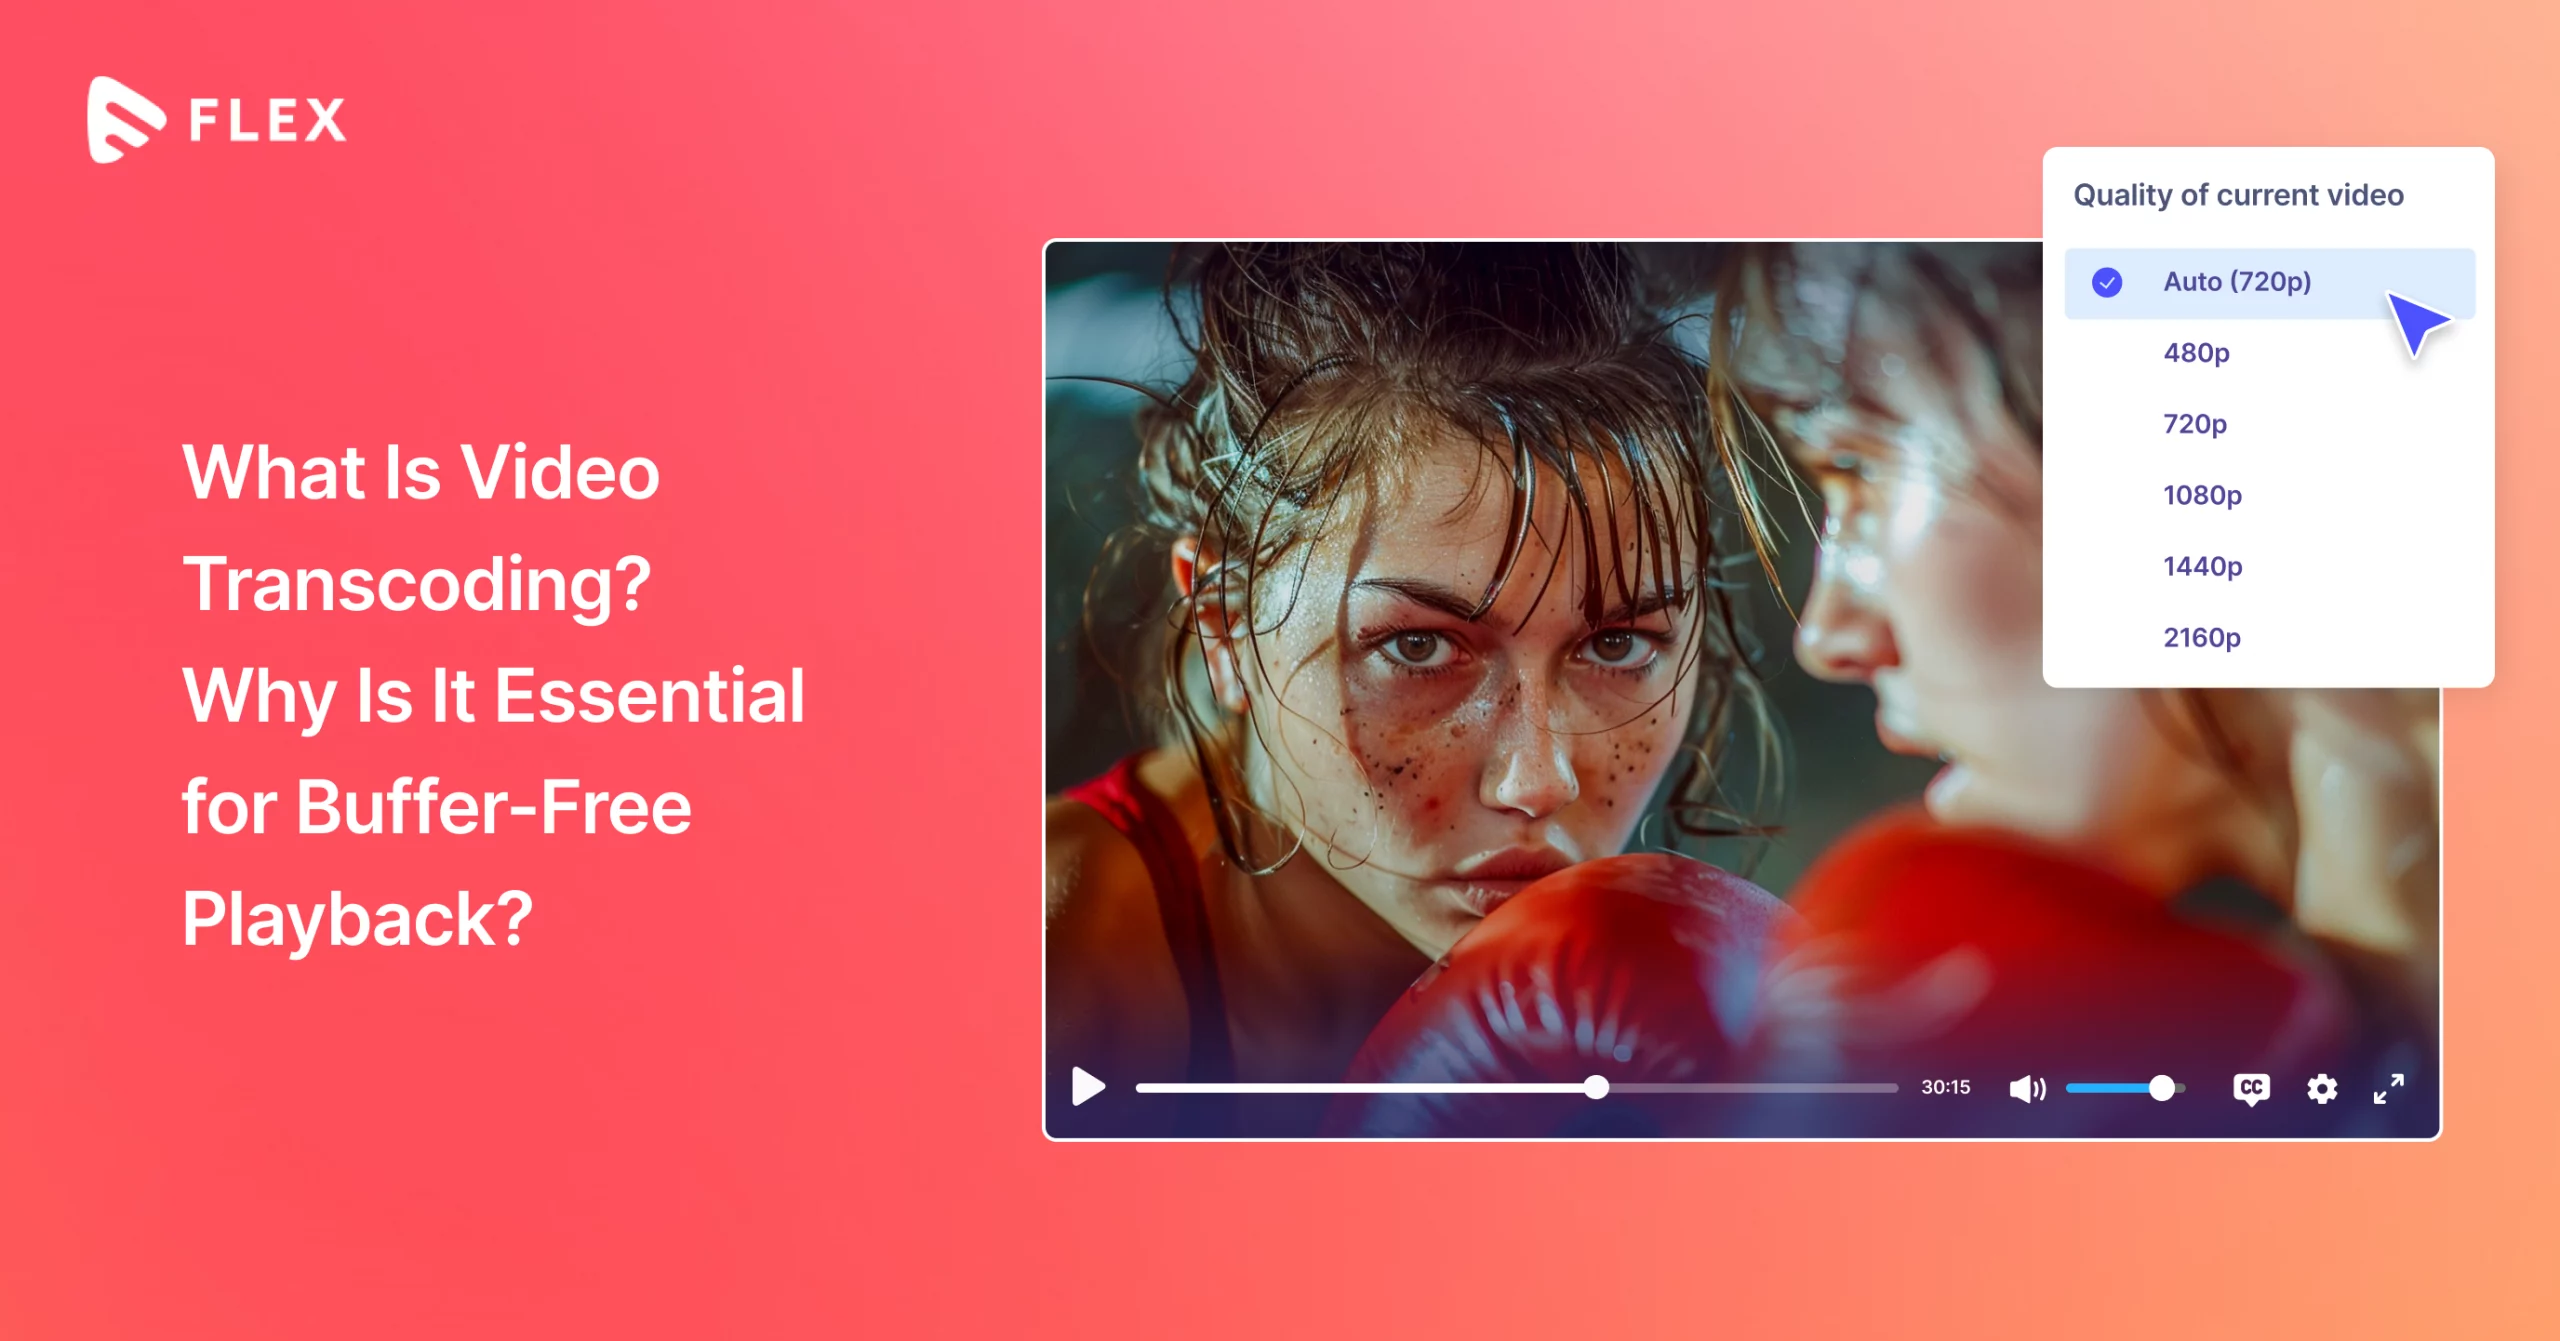
Transcoding is especially important for adaptive bitrate streaming or ABR. Many streaming services use adaptive streaming formats to enhance the viewer’s experience. Actually, adaptive streaming adjusts video quality in real time based on the viewer’s internet speed and device performance.
It means when you will play a video, your video quality will be automatically adjusted to ensure smooth playback and negligible buffering. But for that, it requires multiple versions of the same video, each at different resolutions and bitrates. This is where transcoding comes into play.
During the encoding and transcoding process, the original video is broken down into multiple bite-sized segments, and each segment is then converted into multiple segments of different resolutions and bitrates. All of these versions are made available on the server.
During playback, the streaming service dynamically selects the most appropriate version based on the viewer’s internet speed and device capabilities.
If a viewer’s internet connection slows down, the service can switch to a lower-quality version of the video to prevent buffering. Conversely, if the connection improves, it can provide a higher-quality version, delivering the best possible viewing experience.

How Does Video Transcoding Work?
The video transcoding process basically takes place via software or hardware. Many times, transcoding systems remain built-in within the cloud servers or streaming platforms.
The process involves multiple steps. Let’s take you through these steps one by one.
Step 1 ? File Analysis
In the very first step of video transcoding, two main inputs are required:
- Information related to the original video file format given as input.
- A set of relevant parameters and information regarding the target format. These details will help generate the right output.
Once the input file and related information are received, the file analysis begins. This step involves the following processes:
- Metadata Extraction: The software identifies the format, codec, resolution, frame rate, bit rate, and audio characteristics of the source video file.
- Compatibility Assessment: It checks whether the source file’s characteristics are compatible with the desired target format.
Step 2 ? Decoding
The second step involves decoding the original video and audio files. It involves the following steps:
- Stream Extraction: The software separates video and audio streams from the source media files. The video and audio streams pass through the decompression process separately.
- Decompression: This step converts the compressed video and audio files into raw intermediate uncompressed formats. This involves decoding video codecs like H.264, HEVC, and audio codecs like AAC, and MP3 to make the data editable.
Step 3 ? Processing
The next step involves rigorous processing of the uncompressed video and audio data. It usually involves the following steps:
- Video Editing and Filtering: The transcoder carries out all the necessary video and audio processing, such as trimming, cropping, resizing, color correction, or adding effects.
- Resolution and Frame Rate Adjustment: It also adjusts the resolution and frame rate of the video as required. For example, converting a 4K video to HD or changing the frame rate from 30fps to 24fps.
- Bitrate and Quality Settings: It also configures settings related to the bitrate and quality of the output file.
Step 4 ? Encoding
After processing, editing, and quality adjustment, it’s time for re-encoding. The encoding process takes place as follows:
- Compression: The encoder converts the processed video and audio data into the target format using the specified codec. This involves re-compressing the data to fit the desired output format such as H.264, H.265/HEVC, VP9, and settings such as resolution, and bitrate.
- Muxing: The video and audio data were separated till now. So, in this step, the encoded video and audio streams are combined back into a single file. This process creates the final output file in the desired container format.
Step 5 ? Delivery
This is the final stage of transcoding where the final video file is verified to ensure that it is in desired delivery format. The system also checks the output file for any errors or issues, such as playback problems, synchronization issues between video and audio, or artifacts introduced during encoding.
After verification, the metadata is inserted into the file. It usually consists of details such as title, description, and technical specifications. This step is important for organizing and managing video files, especially for distribution.
Once everything is done, the final file is prepared for distribution. In the case of cloud transcoding, the distribution process usually involves uploading the file to content delivery networks or CDNs.
What is Transcoding Software?
Well, by the name of it, you might have guessed that it is software that performs transcoding. And in that case, you are right!
Transcoding software is designed to convert media files from one format to another. In other words, it is software that performs most of the steps we discussed above.
For example, you might use transcoding software to:
- Change File Formats: Let’s say, this software can help you convert a video from AVI to MP4 or an audio file from WAV to MP3!
- Adjust Quality: You can reduce the resolution or bitrate of a video to make it easier to stream or store.
- Ensure Compatibility: It helps convert files to a format that’s compatible with different devices or platforms. For example, it can change a video file so it can be played on a specific smartphone or media player.
Common examples of transcoding software include HandBrake, FFmpeg, and Adobe Media Encoder.
And in some video management platforms like Muvi Flex, you don’t need separate software for transcoding. Because Muvi Flex has a built-in encoding and transcoding engine. So, whenever you upload a video to Muvi Flex, it automatically encodes and transcodes the video to multiple encoding profiles.
Hardware Transcoding vs Software Transcoding
Transcoding can be done via both software and hardware. But which one will be best for your business? And how are they different from each other? Let’s find it out in the table given below:
Aspects | Hardware Transcoding | Software Transcoding |
Performance | Generally faster due to specialized hardware. | Typically slower as it relies on a general-purpose CPU. |
Efficiency | More efficient, reducing system resource usage. | Less efficient, and can use more CPU and system resources. |
Cost | Higher due to the need for specialized hardware. | Lower, as it uses existing CPU and software. |
Scalability | Better at handling multiple concurrent tasks. | May struggle with high volumes or complex tasks. |
Format Flexibility | Limited. It supports certain formats and codecs. | High. It supports a wider range of formats and codecs. |
Compatibility | Limited. May require specific hardware or drivers. | Very High. Compatible with most devices and operating systems. |
Update and Customization | It is less flexible, so hardware updates are less frequent. | It is easier to update and customize with new software versions. |
Examples | NVIDIA NVENC, Intel Quick Sync Video. | FFmpeg, HandBrake |
Types of Transcoding
Video Transcoding can be mainly of three types:
- Standard Transcoding
- Transrating
- Transsizing
But all of them have different use cases and characteristics. So, let’s take a deeper look at them one by one.
1. Standard Transcoding
It is the most common and standard form of transcoding that simply converts media files from one format to another. Technically, it involves re-encoding the file, which can change both the format and the codec used for encoding the media.
Some Use Cases
You can use standard transcoding for:
- Changing a video file from AVI to MP4.
- Converting audio from WAV to MP3.
- Preparing media files for compatibility with different devices or platforms.
Characteristics:
Standard transcoding involves the following:
- Re-Encoding: The original media is decoded and then encoded into the target format.
- Lossy Compression: This can result in quality loss while compressing higher quality videos to lower quality streams.
- Flexibility: It supports a wide range of formats and codecs.
2. Transrating
Transrating or bitrate transcoding involves altering the bitrate of a media file while keeping the same format. Hence it will give you video in a different bitrate without changing the format. This process mainly affects the file’s quality and size.
Some Use Cases
You can use it for:
- Reducing the bitrate of a video to decrease file size for easier streaming.
- Adjusting audio bitrate to optimize for different network conditions.
Characteristics:
- Bitrate Adjustment: This type of transcoding focuses on changing the bitrate, which impacts quality and file size.
- Quality Control: It allows for optimizing media for different bandwidths or storage capacities.
- Efficiency: It is useful for managing file sizes and streaming performance.
3. Transsizing
Transsizing refers to changing the size or resolution of a media file. It often involves resizing the video frame or changing the resolution while keeping the format the same.
Some Use Cases
It can be used for:
- Resizing a video from 4K to 1080p to match the resolution of a display or reduce file size.
- Changing the dimensions of an image or video to fit a specific aspect ratio.
Characteristics:
- Resolution Adjustment: It focuses on altering the dimensions or resolution of the media file.
- Impact on Quality: Resizing can affect the perceived quality, with larger sizes potentially requiring upscaling that can lead to artifacts.
- File Size: This process directly impacts file size depending on the new resolution.
Why Is Transcoding Critical for Successful Streaming?
Transcoding is super important for smooth streaming because it makes sure your content looks great no matter what device or connection you’re using.
To do so, it transforms videos into the right format for your device, whether you’re watching on a phone, tablet, or smart TV. Plus, it adjusts the quality based on your internet speed, so you get the best experience without constant buffering.
Whether you have a high-speed connection or are on a slower mobile network, transcoding helps keep your streaming enjoyable by managing file sizes and resolutions. It’s like having a personal assistant that makes sure your video fits perfectly with your screen and connection.
And it is not just for streaming and entertainment videos. It is true for business videos too!
Do Business Videos Also Need Transcoding?
Yes, even if you use videos for business purposes like training, sales, and marketing, transcoding will always be beneficial. This is because even the training and marketing videos can be huge in size at times. And your customers and employees can also use multiple devices including mobile phones to stream them!
So, if you transcode these videos, it will ensure less buffering and smooth playback. Hence, your training and marketing efforts will be more effective with enhanced user experience. This will directly lead to more lead generation and growth of your business.
Benefits of Video Transcoding
Video transcoding offers several major benefits that enhance the overall video streaming and viewing experience. Some of the benefits are:
- Device Compatibility: It ensures that videos are converted into formats that are compatible with various devices, from smartphones and tablets to smart TVs and computers.
- Adaptive Streaming: By creating multiple versions of a video at different quality levels, transcoding supports adaptive bitrate streaming. This means the video quality adjusts automatically based on the viewer’s internet speed, reducing buffering and improving playback.
- Optimized Performance: Transcoding can compress video files to reduce their size while maintaining acceptable quality. Hence, it helps in reducing bandwidth usage and storage requirements. This is especially useful for users with limited data plans or slower connections.
- Improved Viewing Experience: It ensures a clear and enjoyable viewing experience no matter the screen size.
- Broad Distribution: Transcoding helps standardize content so it can be easily distributed across different streaming platforms and services, increasing the reach and accessibility of the content.
Video Transcoding Best Practices
When it comes to video transcoding, the chances of losing video quality are also quite high. So, you need to make sure that transcoding is performed correctly.
Following best practices can significantly enhance the quality, efficiency, and compatibility of your video content:
- Choose the Right Codec: Use widely supported codecs like H.264 for compatibility with most devices and browsers. For higher efficiency and better compression, consider newer codecs like H.265 or HEVC and VP9, keeping in mind the support and licensing requirements.
- Set Optimal Bitrates: Determine appropriate bitrates for different quality levels. Higher bitrates generally mean better quality but larger files. Aim for a balance between quality and file size, especially for adaptive bitrate streaming.
- Optimize for Resolution: Provide multiple resolution options e.g., 360p, 480p, 720p, 1080p, 4K, etc. to accommodate different device screens and network conditions. Transcode content at multiple resolutions to ensure broad compatibility and optimal performance.
- Maintain Audio Quality: Ensure audio tracks are also transcoded to a suitable format and bitrate. Commonly used formats include AAC for good quality and broad compatibility. Maintain audio clarity and sync with video.
- Test Across Devices: Test transcoded videos on various devices and browsers to ensure compatibility and consistent quality. This helps identify and address any playback issues specific to certain platforms.
How Muvi Flex Helps in Transcoding
Muvi Flex is one of the leading enterprise video management platforms that offers a built-in encoding and transcoding engine. This means that whenever you upload any video to Muvi Flex, it gets automatically encoded and transcoded.
Muvi Flex supports multiple encoding profiles and multiple resolutions. It also supports adaptive bitrate streaming. That is why, you can always rest assured that your end users will be able to view your videos as smoothly as possible, irrespective of their internet bandwidth or device type.
Wrapping Up
No doubt that video transcoding is a must-have part if you are dealing with video streaming. But at the same time, it is quite complex to understand and execute. While a video transcoding solution is a must-have for your video platform, the task of choosing the right one is not so easy.
If you are looking for a video management platform that offers built-in encoding and transcoding, then Muvi Flex can be the perfect solution for you! Muvi Flex automatically performs encoding and transcoding of the uploaded video to ensure smooth playback.
And that’s not all! Multi-DRM ensures your video remains protected from piracy. You can easily create playlists and share links via HLS.
You can try Muvi Flex for FREE for 14 days. No credit card required. Click here to get started!









Add your comment