Did you know that by the end of 2022, live streaming is expected to account for 82% of all internet traffic? Live streaming can act as an incredibly valuable tool for growing your brand’s online presence. We all know that a successful live stream requires several critical components to work together in unison. Here in this blog, we will share some live streaming tips and tricks for broadcasting an engaging and flawless live stream every time. Professional broadcasters understand that success begins before the stream starts—with proper configuration of ingest in broadcasting. The first of our tips will focus on how to set up your ingest in broadcasting correctly, ensuring stable connections and high-quality signal capture that forms the foundation for everything downstream
Top Live Streaming Tips For Broadcasters
1. Choose the Type of Live Stream
For live streaming an event, first you have to choose the type of live stream. Here are some engaging live streaming events you would want to broadcast:
- Promotional product launches
- Interactive Q and A
- Webinars
- Fun contests and giveaways
- Product demos
- Concerts or musicals
- Weddings
- Educational videos
2. Keep your Set Up Simple
It’s always wise to keep your live streams short and simple, and using a live streaming mobile app can help reduce setup complexity by letting you broadcast directly from your smartphone. And if one of these parts falls apart, then the success of your entire live show is at risk! It’s always best to keep your setup simple to lower the odds of technical errors.
3. Have Backup Equipment Available
Even with a simple setup, there is still a chance your equipment may fail. Opting for hardware encoders is not a wise choice as they need constant upgradations. Go for a software encoder as they are compatible across all devices and incredibly reliable.
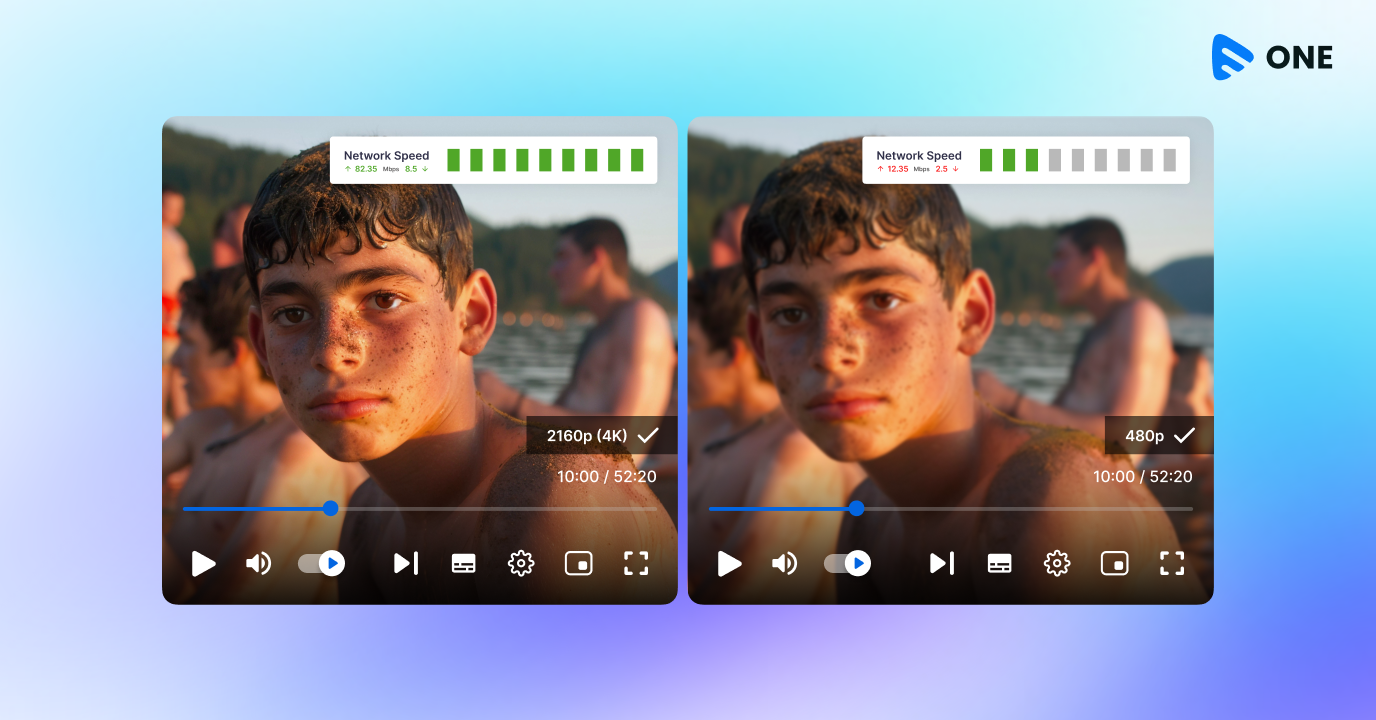
4. Ensure Bandwidth Availability
Bandwidth availability is critical during live streams so ensure that you know your network! Test your upload speed to ensure you have consistent upload bandwidth or your live stream may not be viewable by your audience.
For more details on bandwidth for live streaming download our eGuide- A Live Streamer’s Ultimate Guide to Bandwidth Optimization.
5. Devote Time for Audio
Audio is an integral part of a live stream and sometimes, unfortunately, audio setup sometimes doesn’t receive all the attention it deserves. In order to deliver a professional live stream, make sure you remember to give yourself ample time to minimize room noise, test acoustics, and configure your audio encoding settings.
6. Test your Stream with a Backup Account
This is an excellent hack to test your streams before going live. Take Facebook, for example. Create a new private account without adding any friends. While your backup account is streaming you can log into your main account and view your broadcast from the perspective of your audience.
Also Read: Stream like a Pro: Ways you can Boost Live Streaming Viewership
7. Choose your Streaming Platform
There are a lot of live video streaming service providers available , but choosing one that includes mobile live stream app gives broadcasters more flexibility to stream on the go. Therefore, the choice of your main platforms depends a lot on the type of content you have, as well as your objectives. We would advise you to choose a cloud live streaming platform like Muvi Live that is capable of transcoding multi bitrate streams on-the-fly and is also auto-scalable, taking care of unexpected traffic spikes.
8. Create Catchy SEO titles and Descriptions
For your live streams to reach out to the world audience, you have to rely on search engines like Google and Yahoo as maximum viewers search in these search engines for fresh content. Therefore, it’s imperative for you to create some catchy SEO titles and descriptions If you want people to see your content feature in the top search results. Use your keywords in the title and description wisely to make Google notice you.
9. Promote on Social Media
More than 1 in 5 Facebook videos are Live and are watched 3X longer than pre-recorded videos. Live streaming is now social. Platforms like Facebook Live, YouTube, Periscope augments easier promotion and engagement. Platforms like Facebook Live, YouTube, Periscope augments easier promotion and engagement. Use AI Image Enhancer to create high quality featured images that will make your content more visible. Opt for a live streaming service that is capable of simulcasting so that all your live content is broadcasted at the same time on major social channels without hassles.
Also Read: Simulcasting : The Ultimate Guide to Live Stream to Multiple Destinations
10. Prep Up Before you Start Streaming
Getting ready for a professional live stream broadcast can eat up a lot of prep time, which can be significantly reduced with an iOS live streaming app. The top most important requirements are getting mentally prepared and staying cool and composed. Indulge in some mock sessions before the actual show to get yourself acquainted on the camera. This also helps in reducing stress levels and ensures you deliver the best possible broadcast, everytime.
11. Monitor Analytics for Live Streaming Success
Analytics monitoring is the key to improving your streams and making sure that they resonate with the audience. Some of these metrics include the viewer count, the time which they spend watching, and the engagement. You basically learn about the behavior of your audience and their preferences, which will help you devise future content.
12. Choose The Streaming Tools for Live Streaming
OBS Studio
OBS Studio, also known as Open Broadcaster Software, is free, open-source video recording and live streaming software. It’s highly utilized by many streamers, content creators, and professionals broadcasting content on various platforms.
Features:
- Supports multiple input sources (e.g., camera, microphone, screen capture).
- Allows scene transitions and overlays.
- Extensive customization with plugins.
Streamlabs OBS
Streamlabs OBS is a free, all-in-one live streaming software built on top of OBS Studio but designed to be more user-friendly and feature-rich for content creators, especially streamers on platforms. It can access a lot of tools and features helpful to streamers, like donation management, custom overlays, and chat interaction, all from one platform.
Features:
- Integrated with widgets like alerts, donations, and chat overlays.
- Pre-built themes and layouts.
- One-click integration with platforms
How to Set Up Live Streaming with Muvi Live? – Pro Streaming Tips
Sign Up with Muvi Live
Click here to sign up for Muvi Live. You can start a free trial, and later switch to the pricing model as needed.
Login to the Dashboard
Once signed up, log in to the Muvi Live dashboard to get started with your live stream setup.
Add a New Live Stream
Navigate to the live streaming section and click on “Add a Live Stream.”
Fill Out the Live Streaming Form
A form will open where you’ll need to provide the necessary details for your live stream:
- Name: Give your live stream a title.
- Description: Add a brief description.
- Source: Select your source for the live feed. You can use your own camera and microphone or integrate live feeds from 3rd party encoders like vMix or OBS.
Enable DRM Protection
If you need a secure live stream, make sure to enable Digital Rights Management (DRM) protection.
Set Up Paywall for Monetization
For pay-per-view monetization, enable the paywall feature. You’ll be prompted to add the paywall fee and set the default currency.
Ad Insertion
If you wish to include ads, toggle on the ad insertion option.
Personalize Player Settings
Customize the player settings to match your streaming preferences and brand.
Save Your Live Stream
After filling in all the necessary information, click “Save.”
Share the Live Stream Link
Return to the live stream section, where your newly created stream will now appear. Click the three dots next to it, select the option to copy the live stream link, and share it with your audience.
Wrapping Up
Whether you’re looking to create a professional-quality broadcast, or introduce your brand to the world, you can use these live streaming tips to gain an edge over your competitors.
Get started with Muvi Live by taking a 14-Day free Trial, now!


Add your comment