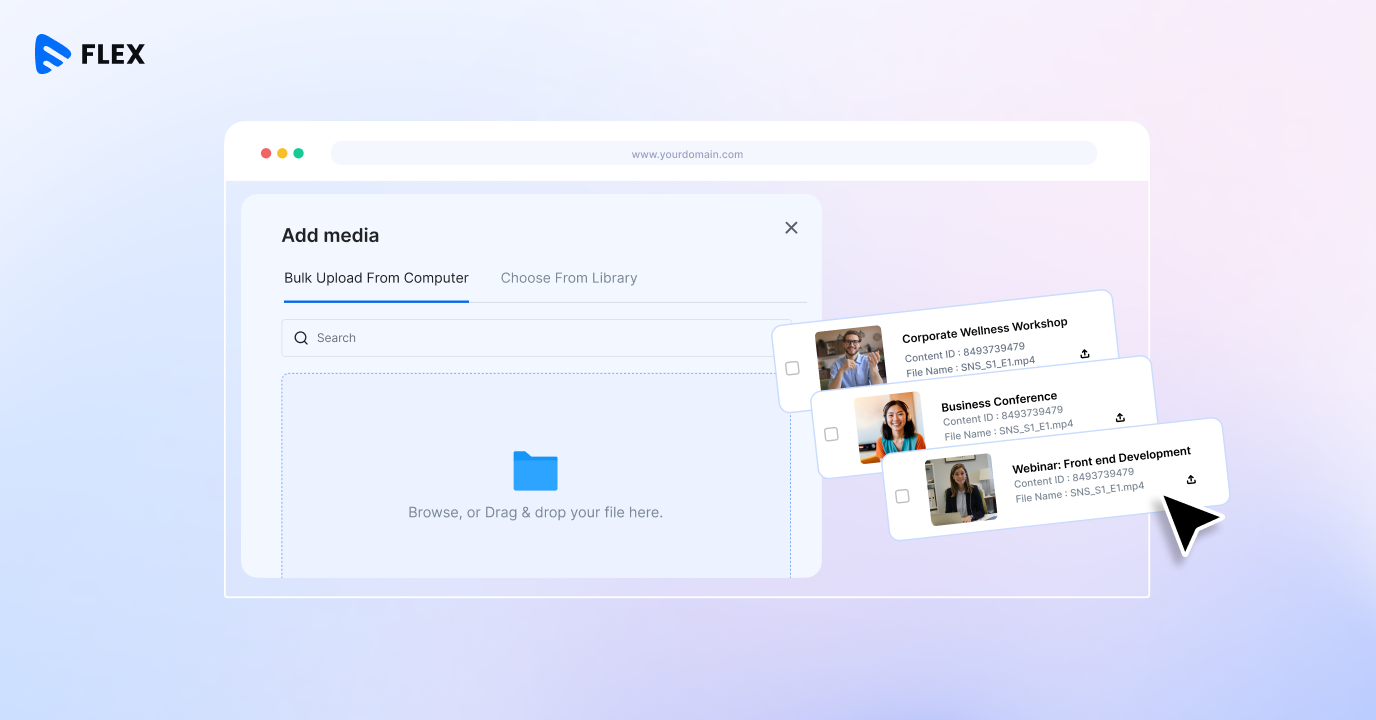
Moving a large video library is a tedious task. There is tons of metadata along with the video, and when you have to upload hundreds of such videos at once, uploading them one by one is not a great idea. There are several factors to consider here, such as file formats, naming conventions, upload failures, security risks, etc and at that time it is necessary to have a platform that offers a seamless bulk upload facility for the content.
Bulk upload simplifies the migration process and enables you to transfer large batches of media and bring your existing content library in a more organized way. This blog talks about how Muvi One can help you transfer all your content at once.
What is Bulk Video Upload?
Bulk video upload is the process of uploading your entire content library from one platform or CMS to another without having to compromise on the quality of content without having to upload each file individually.
With more and more platforms coming up, it is particularly useful since platforms get taken down or they simply go out of business. Your content must not be a liability for you. Bulk upload is a useful utility when you’re:
- Moving an existing video library to a new OTT platform
- Launching a streaming service with an existing content catalog
- Migrating content from another video hosting platform
- Moving hundreds or thousands of videos to a centralized media library
- Adding a large collection of videos to your streaming service at once
The idea is pretty much simple. Bulk upload tries to reduce repetitive uploads and makes large-scale content migration easier to deploy.
Common Migration Issues With Larger Libraries
The larger the library becomes, the more complicated its migration is. Today, content is not just the video. There is artwork, metadata, subtitles, and in many cases, multiple-language audio for the same video file. Hence, a manual migration is next to impossible when you have a very large video library. Here are a few reasons why manual migration is a bad idea.
Large Video Files
Video files are considerably larger than most other digital assets. A library containing hundreds of high-resolution videos can easily add up to terabytes of data. Uploading these files individually can take considerable time and put unnecessary pressure on your network and team.
Hundreds or Thousands of Files
If you have 1,000 videos to migrate, manually selecting, uploading, checking, and organizing every file isn’t an efficient use of your team’s time. Also, if you plan to go that way, you will also have to account for so many other files associated with the video, such as subtitle files, other media assets, and more.
Upload Failures
Large files are more susceptible to interruptions caused by unstable connections, network issues, or other transfer problems. If you don’t have a process for identifying failed or incomplete uploads, you could end up with an incomplete library without realizing it. This is bad for business.
Bulk Upload: How Muvi One Does It
Muvi One makes it easier to upload and manage your content. It supports multiple content import options that you can choose from depending on your file size, volumes, and other technology requirements. IF you are confused about what method works best for you, our team of engineers can perform an audit to determine what should be the best course of action. However, that is step 2; let’s first understand what are the ways in which Muvi One can help you migrate your content.
Direct Upload from Computer
IF you have a good internet connection, you can upload single or multiple files directly onto the Muvi CMS’s content library. This is the simplest of all the methods, but will not work if you have, let’s say, 2000 files to upload.
FTP Uploads & Transfers
One of the best ways to bulk upload content, FTP uploads give you the option to upload massive amounts of data all at once using FileZilla. Simply create an account and log in using the FTP details provided. Once a connection between Muvi servers and FileZilla is established, you simply click Sync to Library, and the upload begins.
Certain guidelines to be followed are:
- Use the same FTP account to upload video, audio, and image files.
- There is no limit on the number of files you can upload.
- Upload files directly to the FTP root directory. Do not create or upload sub-folders.
- After uploading, use FileZilla to verify that the file size matches the original.
- If an upload is corrupted, re-upload the file without deleting the existing copy and choose the Resume option when prompted.
- Supported video formats: MOV, FLV, VOB, MP4, M4V, MKV, AVI, 3GP, and MPG.
- Use English alphanumeric filenames without spaces or special characters. Only hyphens (-) and underscores (_) are allowed. Example: spiderman_HD-1080.mp4
- Replace spaces in filenames with _ or -. Example: spiderman HD 1080p.mp4 → spiderman_HD_1080p.mp4
- Play and verify the video/audio file in a browser before uploading.
- Upload a maximum of 10 files at a time.
- Wait 10–15 minutes before uploading the next batch.
- Once all files are uploaded, go to Content Management → Assets → Sync to Library in your dashboard.
- After syncing, the files will be transferred to the Asset Library and automatically removed from the FTP server after a few hours.
AWS S3 Sync
Muvi also supports automatic AWS S3 sync features, where you can simply install an S3 Sync plugin and sync your entire content library all at once. No additional coding or 3rd-party extensions required. However, the mandatory requirement is that your existing library must be on the AWS server. Only then will a seamless sync happen.
Also, permissions needs to be given in the form of access key and security key of the AWS root IAM to give access to all S3 operations. Continue reading for more details.
How to Prepare Your Video Library for Migration
Before you start moving thousands of files, spend some time preparing your library. A little organization at this stage can save you a lot of work later.
1. Audit your existing library
Start by identifying exactly what you need to migrate. Remove or separate:
- Duplicate videos
- Outdated content
- Test files
- Incomplete files
- Content you no longer have rights to distribute
- Unused versions of the same video
There’s little point in spending time migrating content that you don’t intend to use.
2. Standardize your file names
Create a consistent naming structure for your videos before uploading them.
For example:
Documentary_Episode_01.mp4
is easier to identify than:
doc final NEW 2.mp4
For Muvi’s bulk-upload workflow, filenames should use alphanumeric characters, with _ and – supported, while spaces and other special characters should be avoided. A consistent naming system also makes it easier for your team to identify and manage content after migration.
3. Check your video formats
Your existing library may contain a mixture of formats accumulated over time. Muvi’s documentation lists several supported video formats, including MP4, MOV, FLV, VOB, M4V, MKV, AVI, 3GP, and MPG. Check your library before starting the migration so you can identify files that may need to be converted.
4. Check your source files
Don’t wait until after migration to discover that some of your videos are corrupted. Play a sample—or preferably all—of your source files before transferring them. This helps ensure you’re migrating usable content rather than transferring problems into your new library.
Manage Your Migrated Video Library With Muvi One
Migrating a large video library isn’t simply about transferring files from one location to another. It’s about moving your content accurately, systematically, and with as little disruption as possible. Start by cleaning and organizing your existing library. Standardize filenames, check formats, and verify your source files. Then move your content in manageable batches, verify the transfers, and sync your media into your Asset Library.
With a bulk-upload workflow in Muvi One, you can make the process considerably more manageable and spend less time repeating the same upload task for every individual video. Get a free 14-day trial today.







Add your comment